
Hiding secret passages in Paper2D
November 11, 2020

In a previous blog post I listed some useful approach methods when working with tilesets in UE4. Today I'll explain how tilemaps can also be used inside actors and can be manipulated like any other 3d object using blueprints.
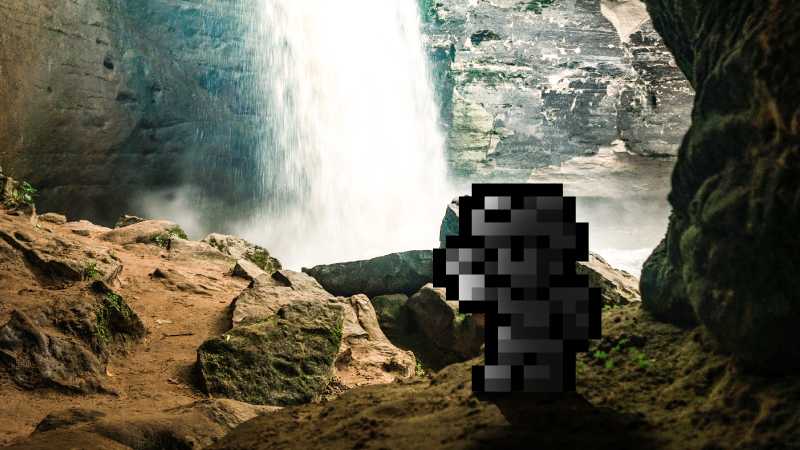
By design, tilemaps are just grids of squares with user-defined textures. They are always placed in the 3d world and use materials like any other mesh. This came in handy when I needed a way to hide secret passages in my otherwise very obvious levels. The end result is quite pleasing, especially when you find the secret passage yourself.
This is the same scene in the level editor. As you can see, beside the level tilemap and the player start there is only one actor (its coloured billboard is useful to spot it when the level becomes too big).

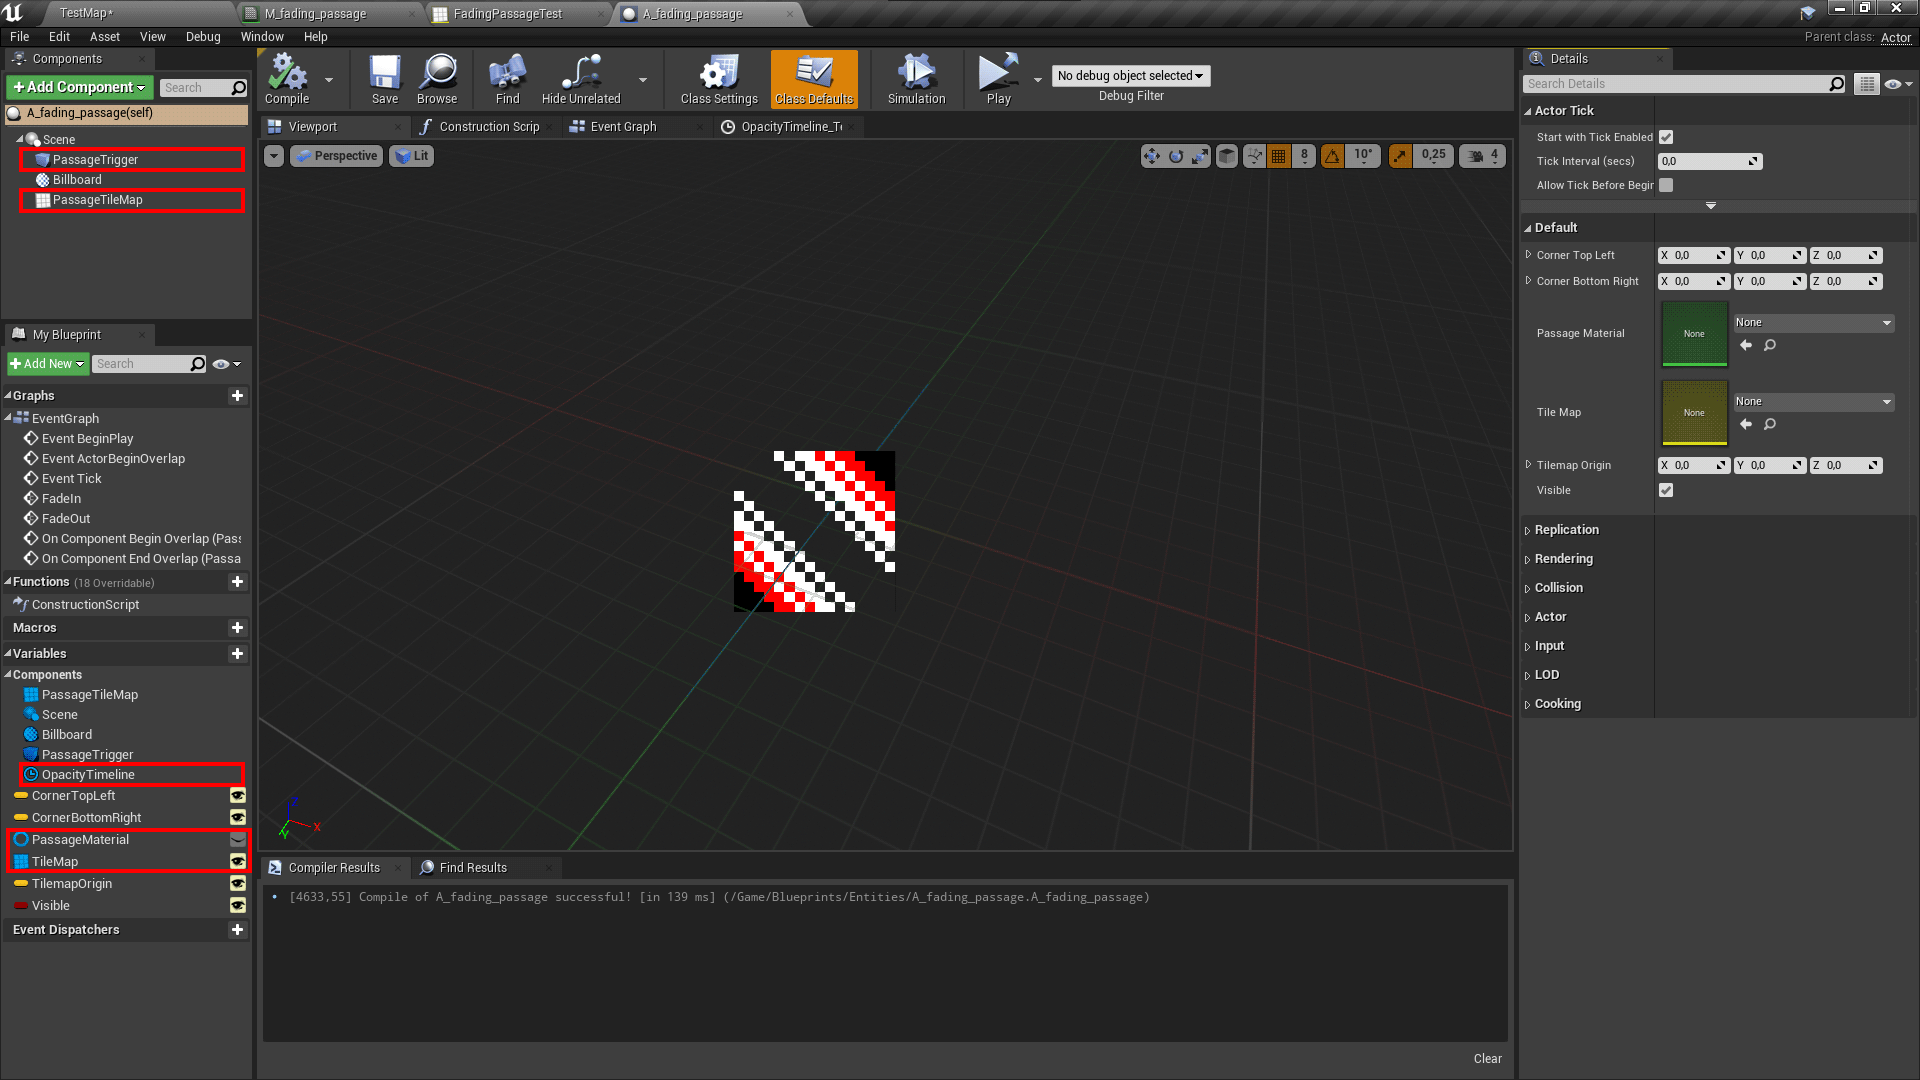
This is the actor itself in the blueprint editor. Highlighted in red are the components and variables you need for this to work. I added other variables so I can easily configure the instances of the actor in the level editor, but they don't do much else.
The basic idea is to place another tilemap in front of the level's tilemap, detect when the player enters an area (which is not blocked at all, mind you) and fade out the obscuring tilemap, revealing the secret passage. When the player leaves the area we just fade the tilemap back in.
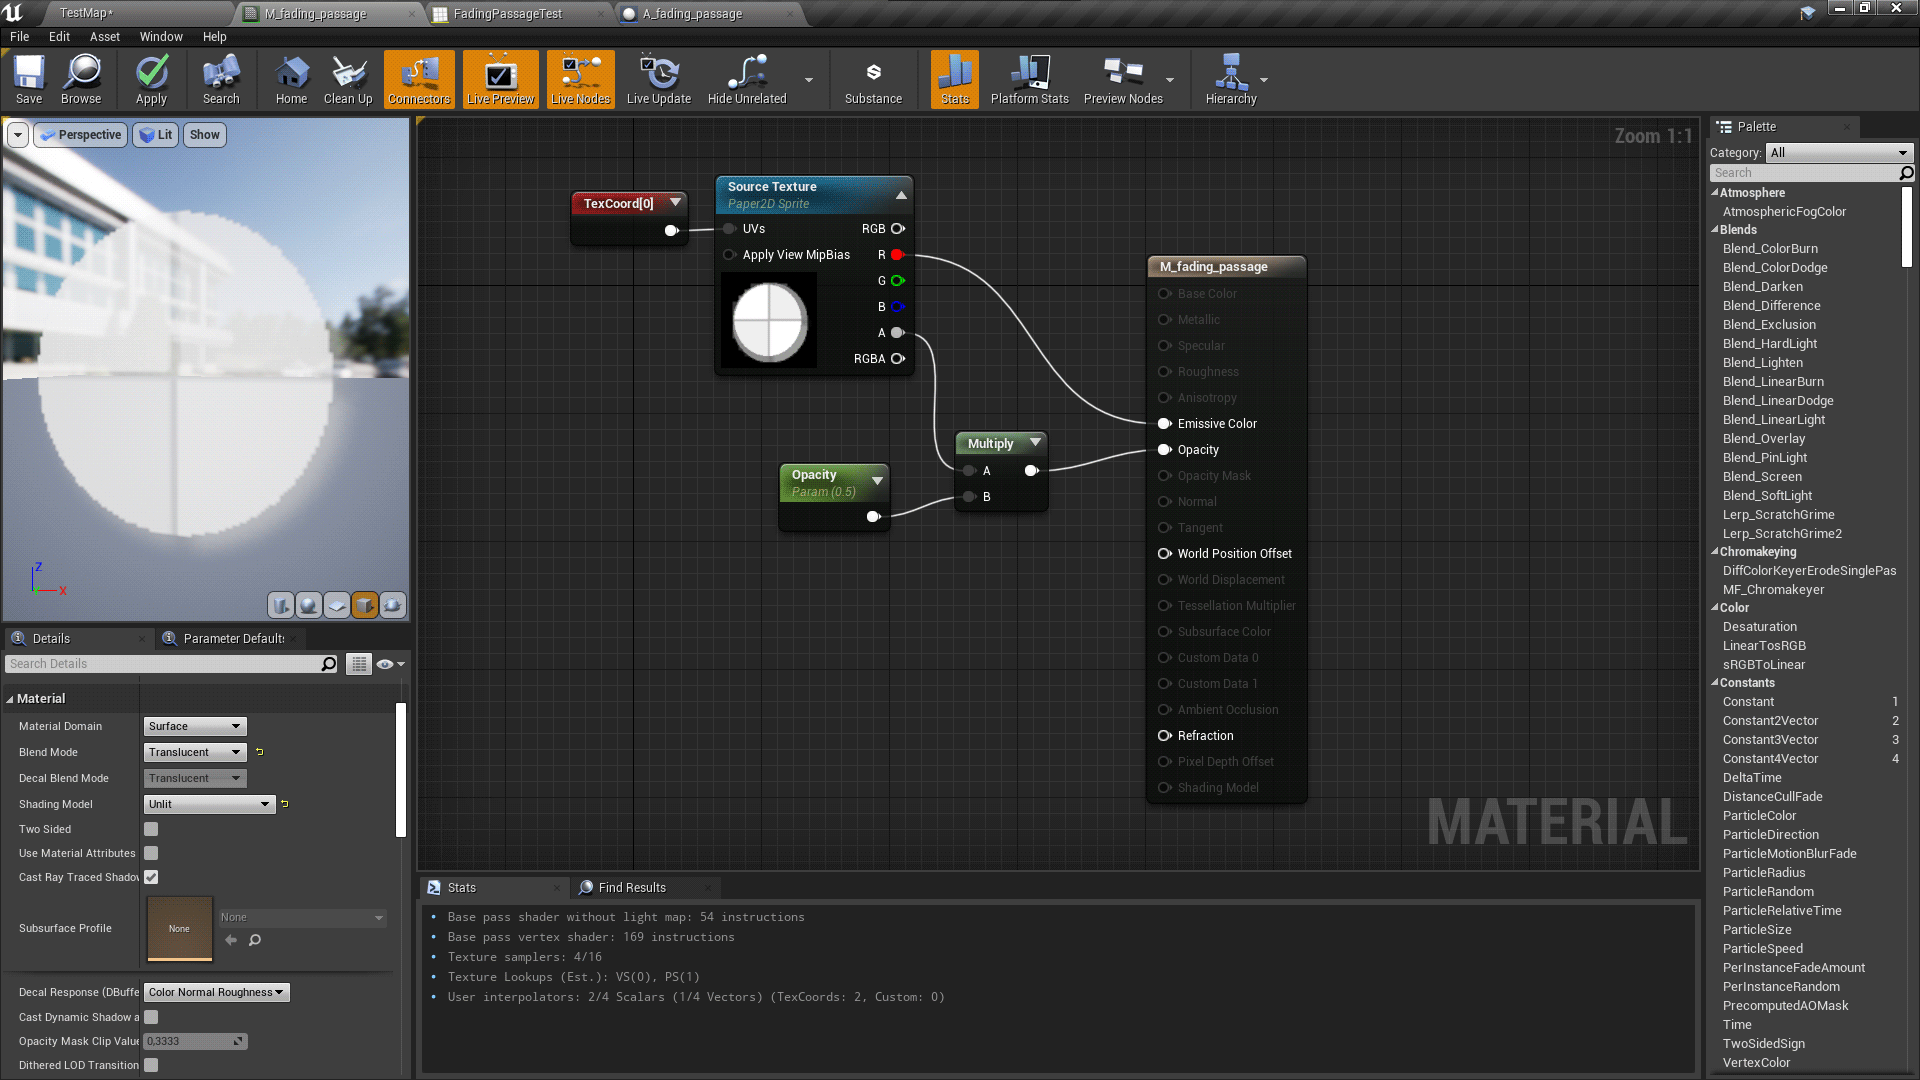
The first thing you need is a material that handles a custom opacity. My material is a little more complex to handle the dithered effect, but this is fine for now. The key node is the scalar parameter named "Opacity", which we will control using the actor's blueprint.
Now you should create a tileset that will obscure the secret passage. When you design your secret passage you should give some cues like a weirdly-shaped alcove, tiles that stand out from their surroundings or enemies that go straight inside the passage, strangely disappearing in the process. Super Metroid does this many times, both for essential power-ups and nonessetial upgrades.

Now it's time to piece everything together. Set the tilemap variable in yor actor to the newly-created tilemap. In the Construction Script of your actor you should create a dynamic material instance of your fading material, save it to a variable for future use and apply the material to the tilemap. Notice that I also set the Opacity parameter right away to 1, because I want my tilemap to be fully opaque when the level loads. I also set some properties on the timeline that will control the fading.
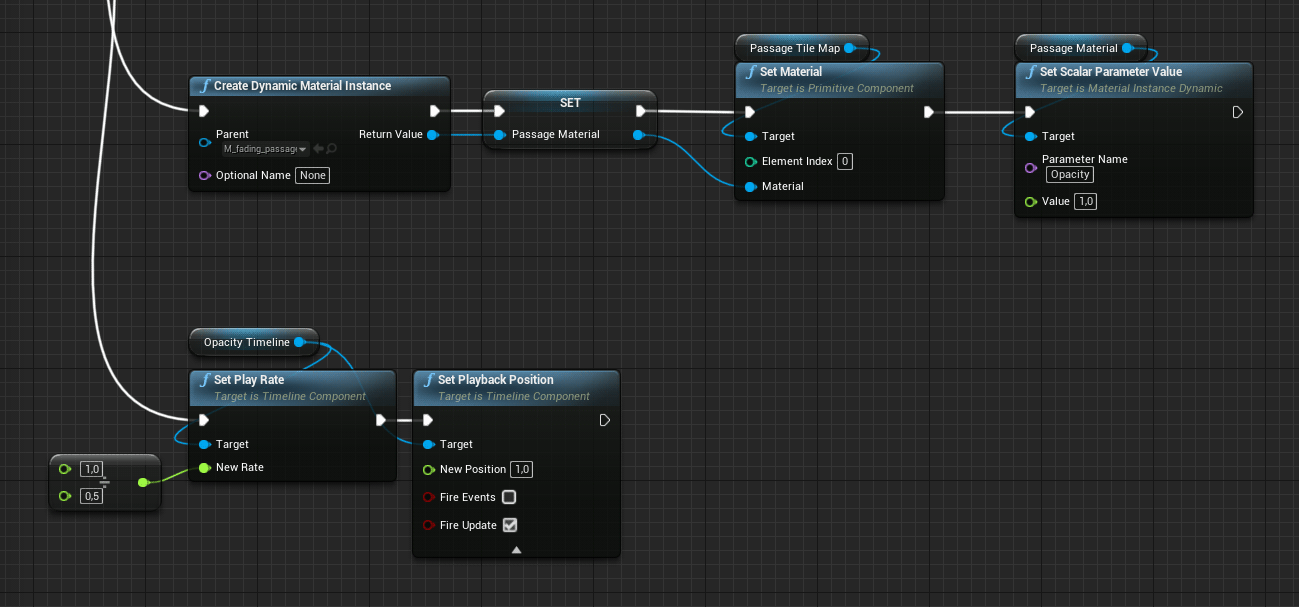
In the Event Graph you should add two events, for fading in and fading out, and link them to the timeline. The timeline has a simple float curve that starts from 0 and ends at 1 after 1 second. I like to keep my timelines as simple and scalable as possible. of course, the value from the timeline will update the Opacity parameter in the material instance we created earlier.
Below the two events, there is just the collision event between the box collision and the player actor. Entering triggers the fade out and leaving triggers the fade in. It's simple as that.

Now place your actor in the world, align the collision with your walking layer and try to walk through it. The tilemap should fade smoothly.
You can now build from here to add a sound when the passage is revealed, stop time untile the animation finishes (like in Yoshi's Island) or customize the fading with a texture like I did, to suit the environment or the theme of your game.